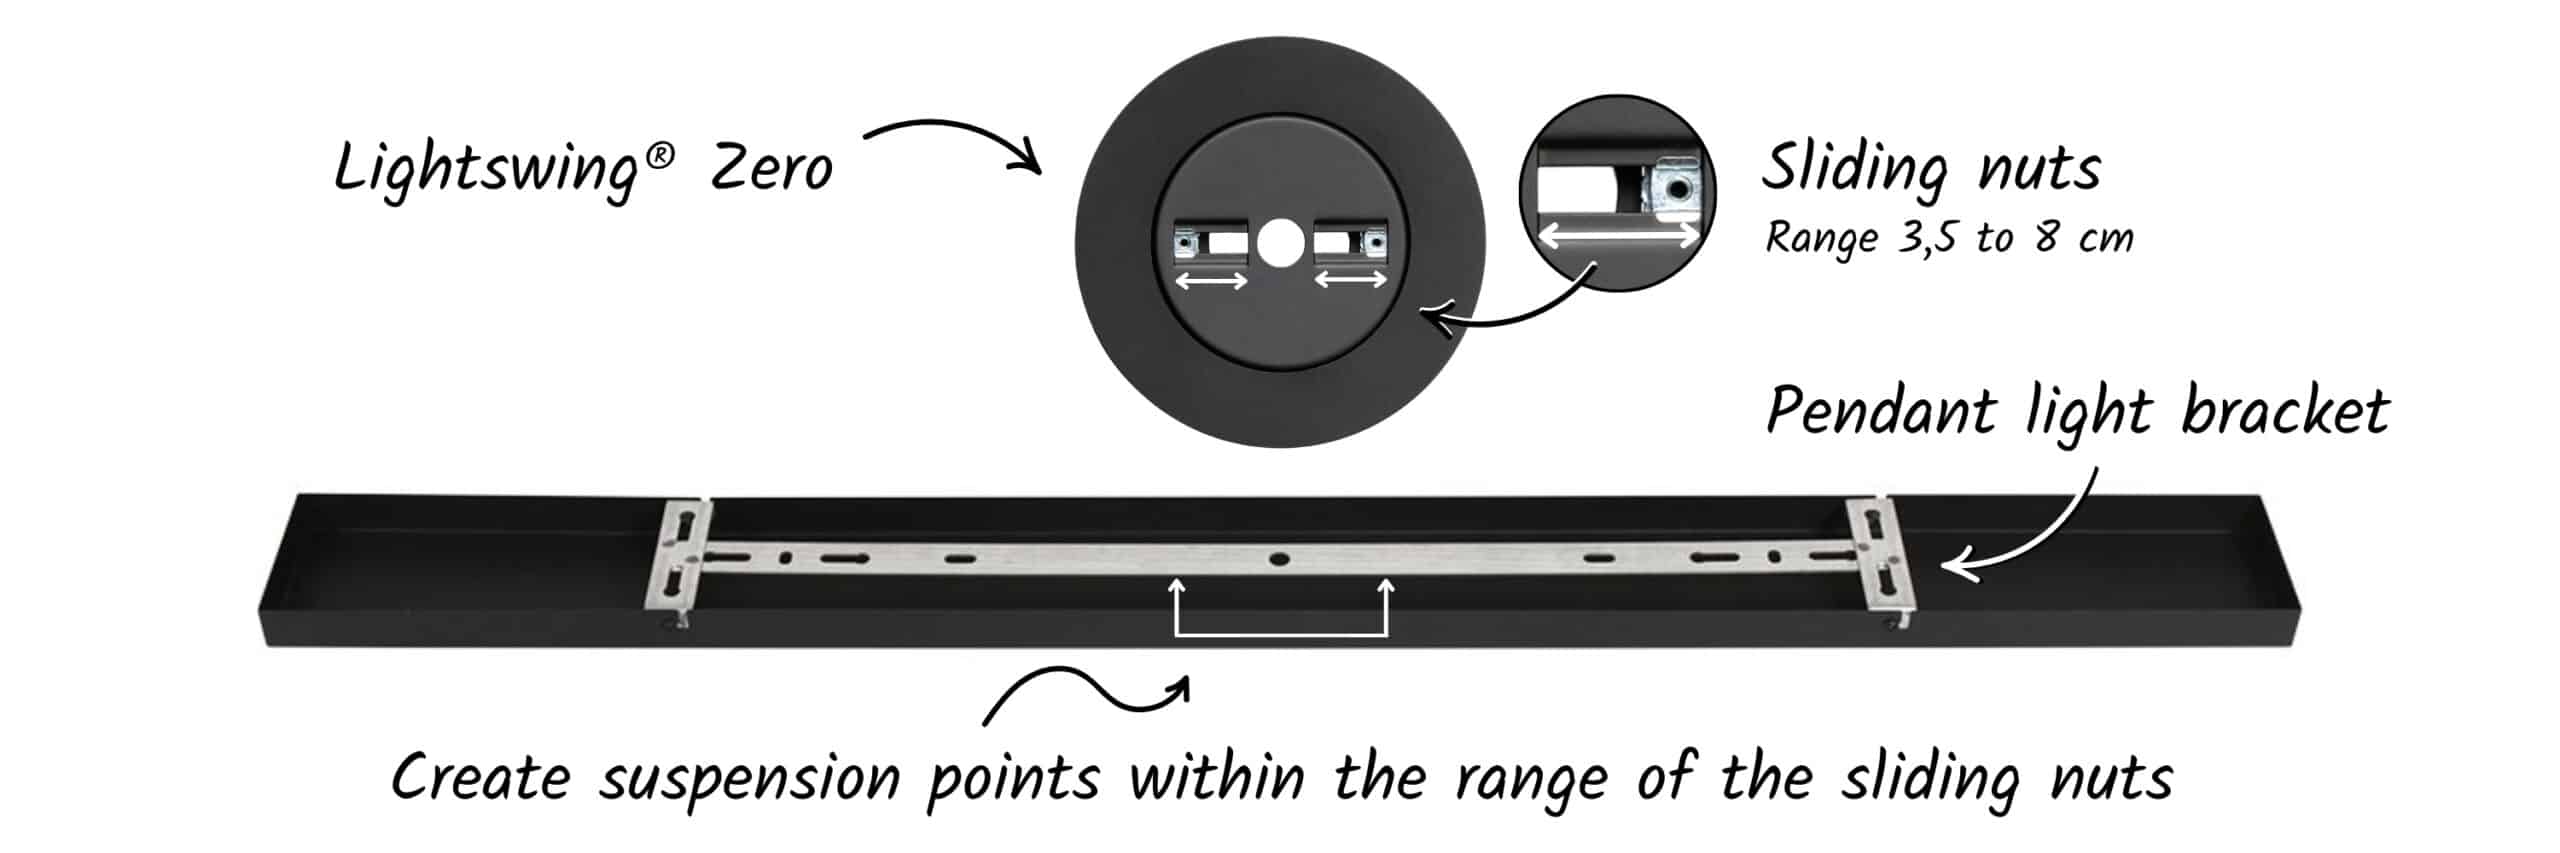
Lightswing® Zero: designed to turn your style around
At Lightswing®, we believe great design starts with listening—and the story of the Lightswing Zero is no exception. Inspired by real customer requests, this innovative suspension system was born out of a simple but pressing question: “Do you have a solution for turning pendant lights with multiple lamps?”
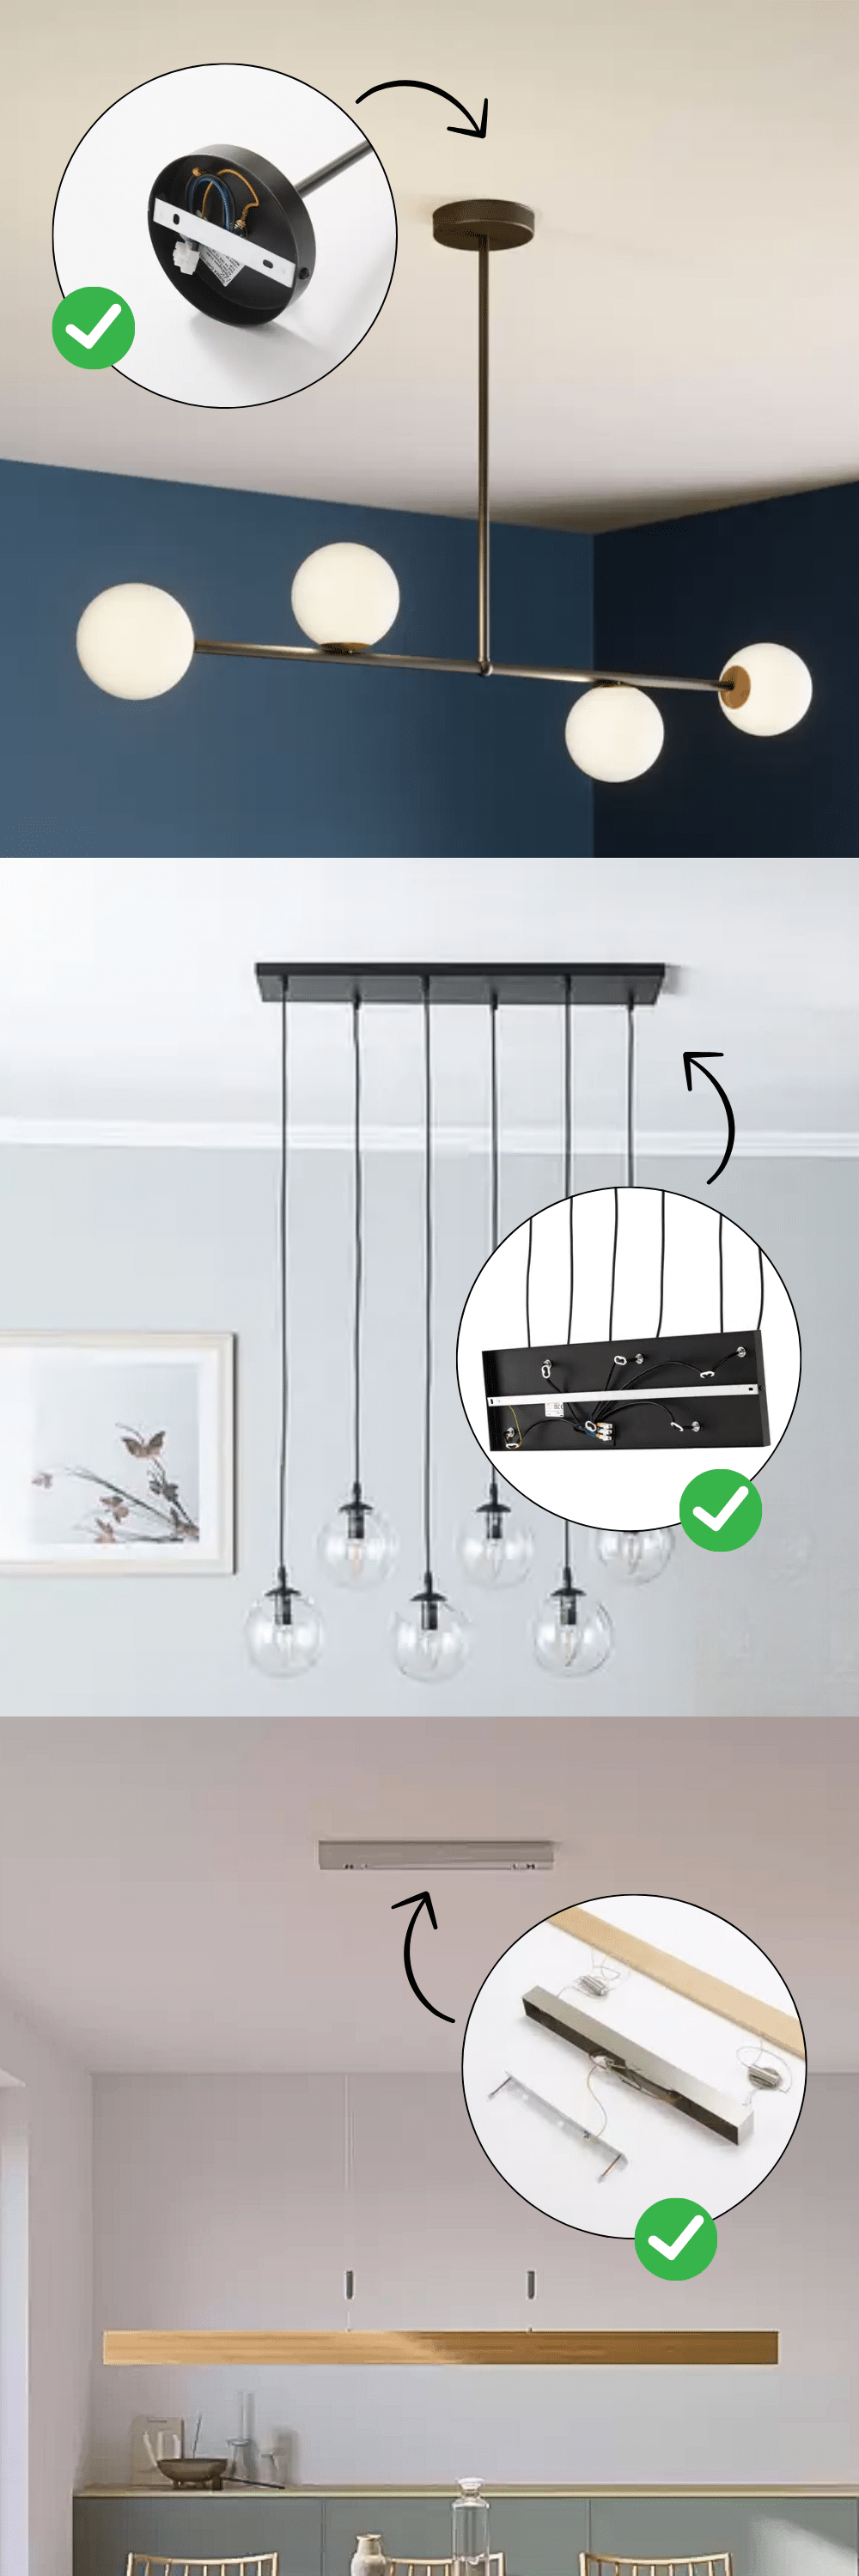
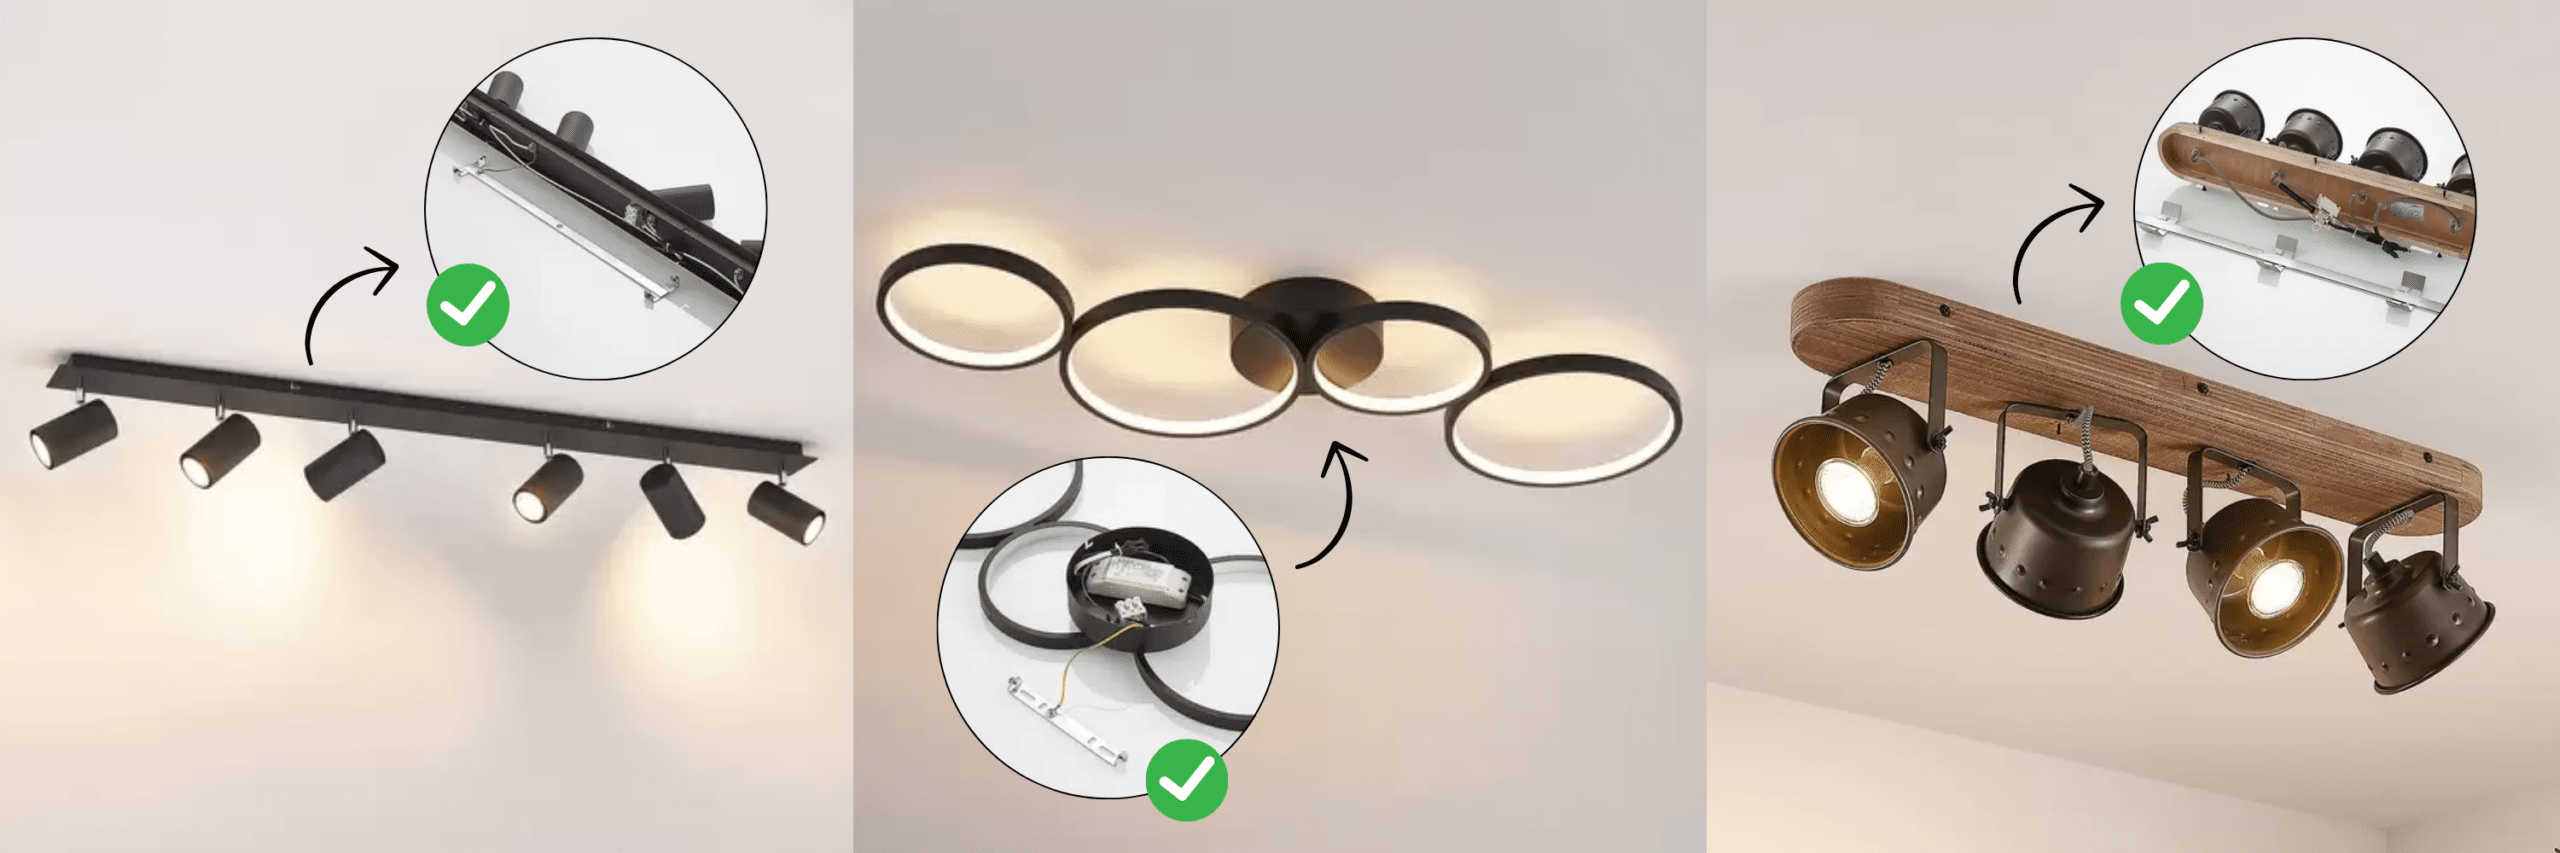
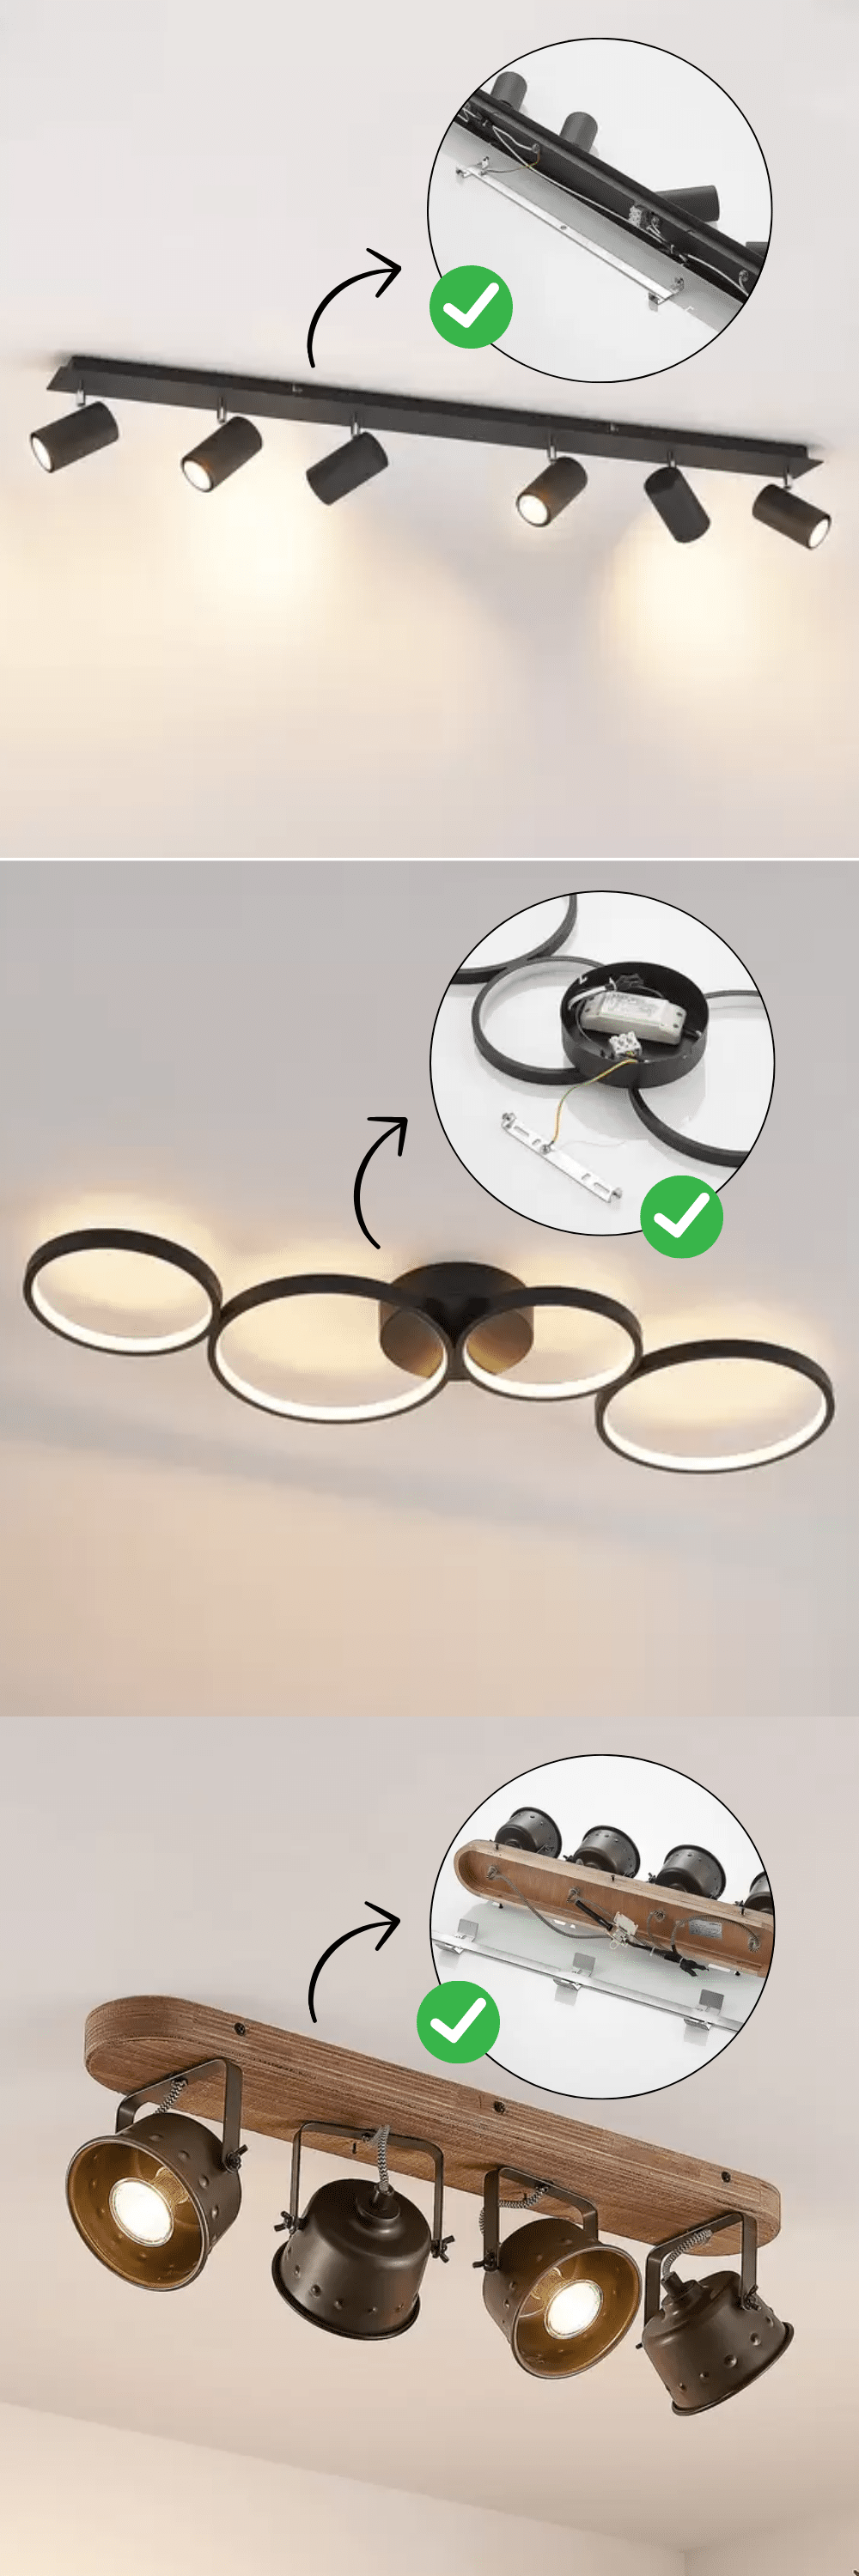
For many of our customers, adjusting the direction of their type of pendant light seemed impossible. Pendant lights with bar lighting or a bracket for multiple lamps aren’t suitable for Lightswing® Single or Twin. They didn’t necessarily want the flexibility of sliding their light, as seen in our Single and Twin. Instead, they needed a sleek, stylish way to rotate their lights to fit their evolving interiors.
From concept to reality: A one-year journey
The Lightswing® Zero is the result of a year of meticulous development, driven by our brand pillars of timeless design, stylish finish, and innovative solutions. Paul, founder and creater of Lightswing® poured his expertise into crafting a product that not only met customers’ requests but exceeded their expectations in style and usability.
Like hearing the stories behind the design? Sign up for our newsletter for more behind-the-scenes, style tips and the latest from the world of Lightswing®
From concept to reality: A one-year journey
The Lightswing® Zero is the result of a year of meticulous development, driven by our brand pillars of timeless design, stylish finish, and innovative solutions. Paul, founder and creater of Lightswing® poured his expertise into crafting a product that not only met customers’ requests but exceeded their expectations in style and usability.
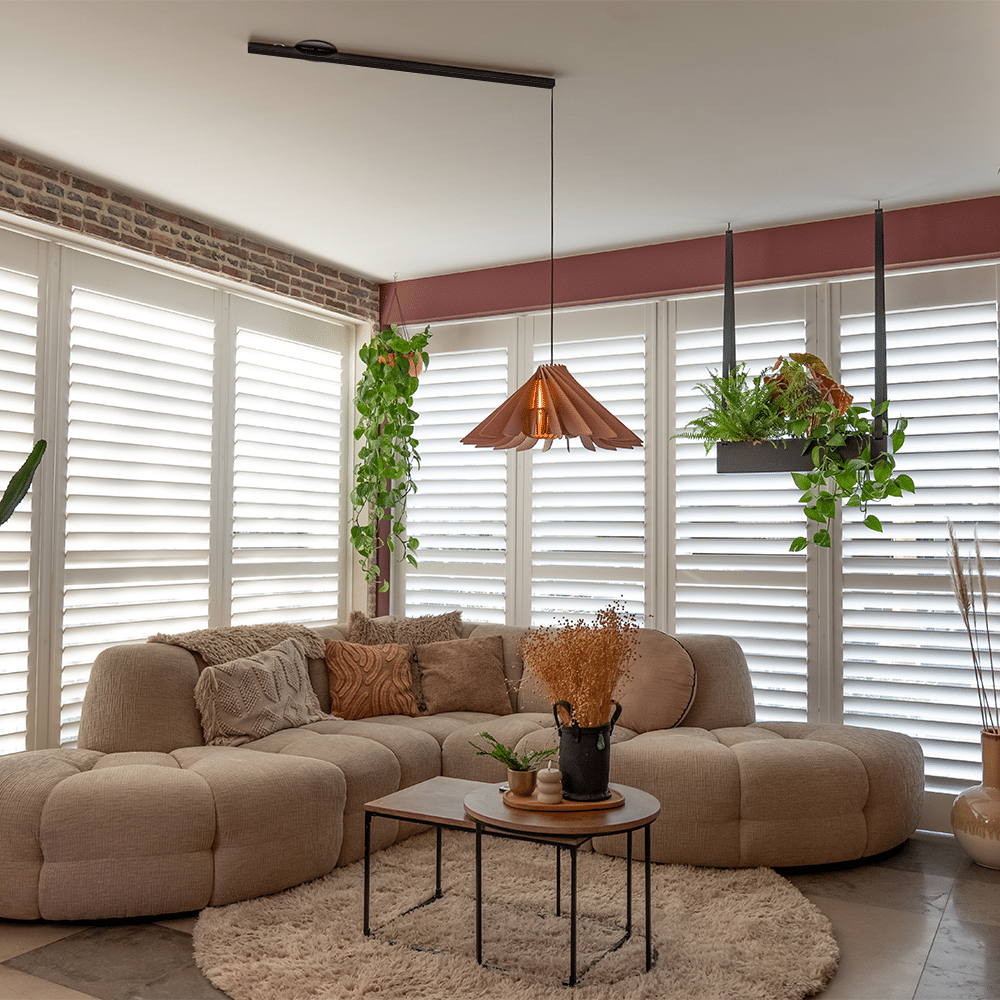
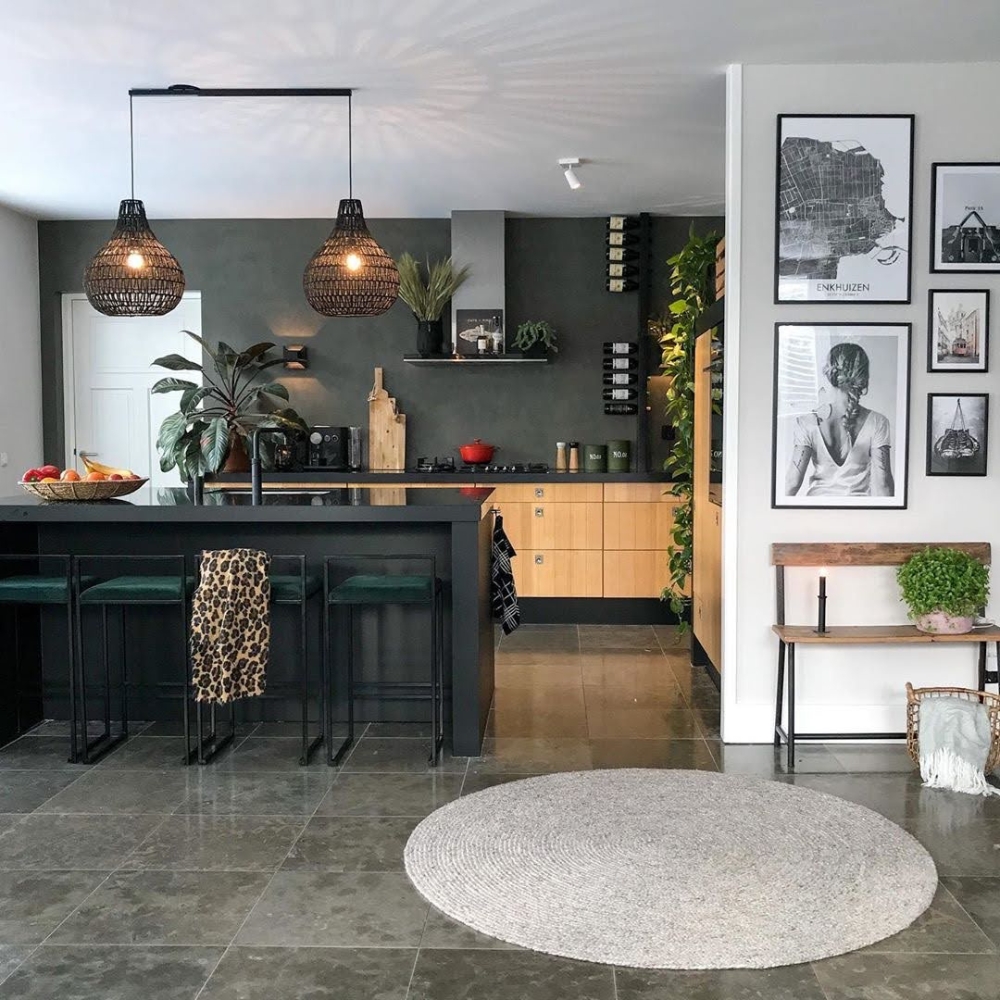
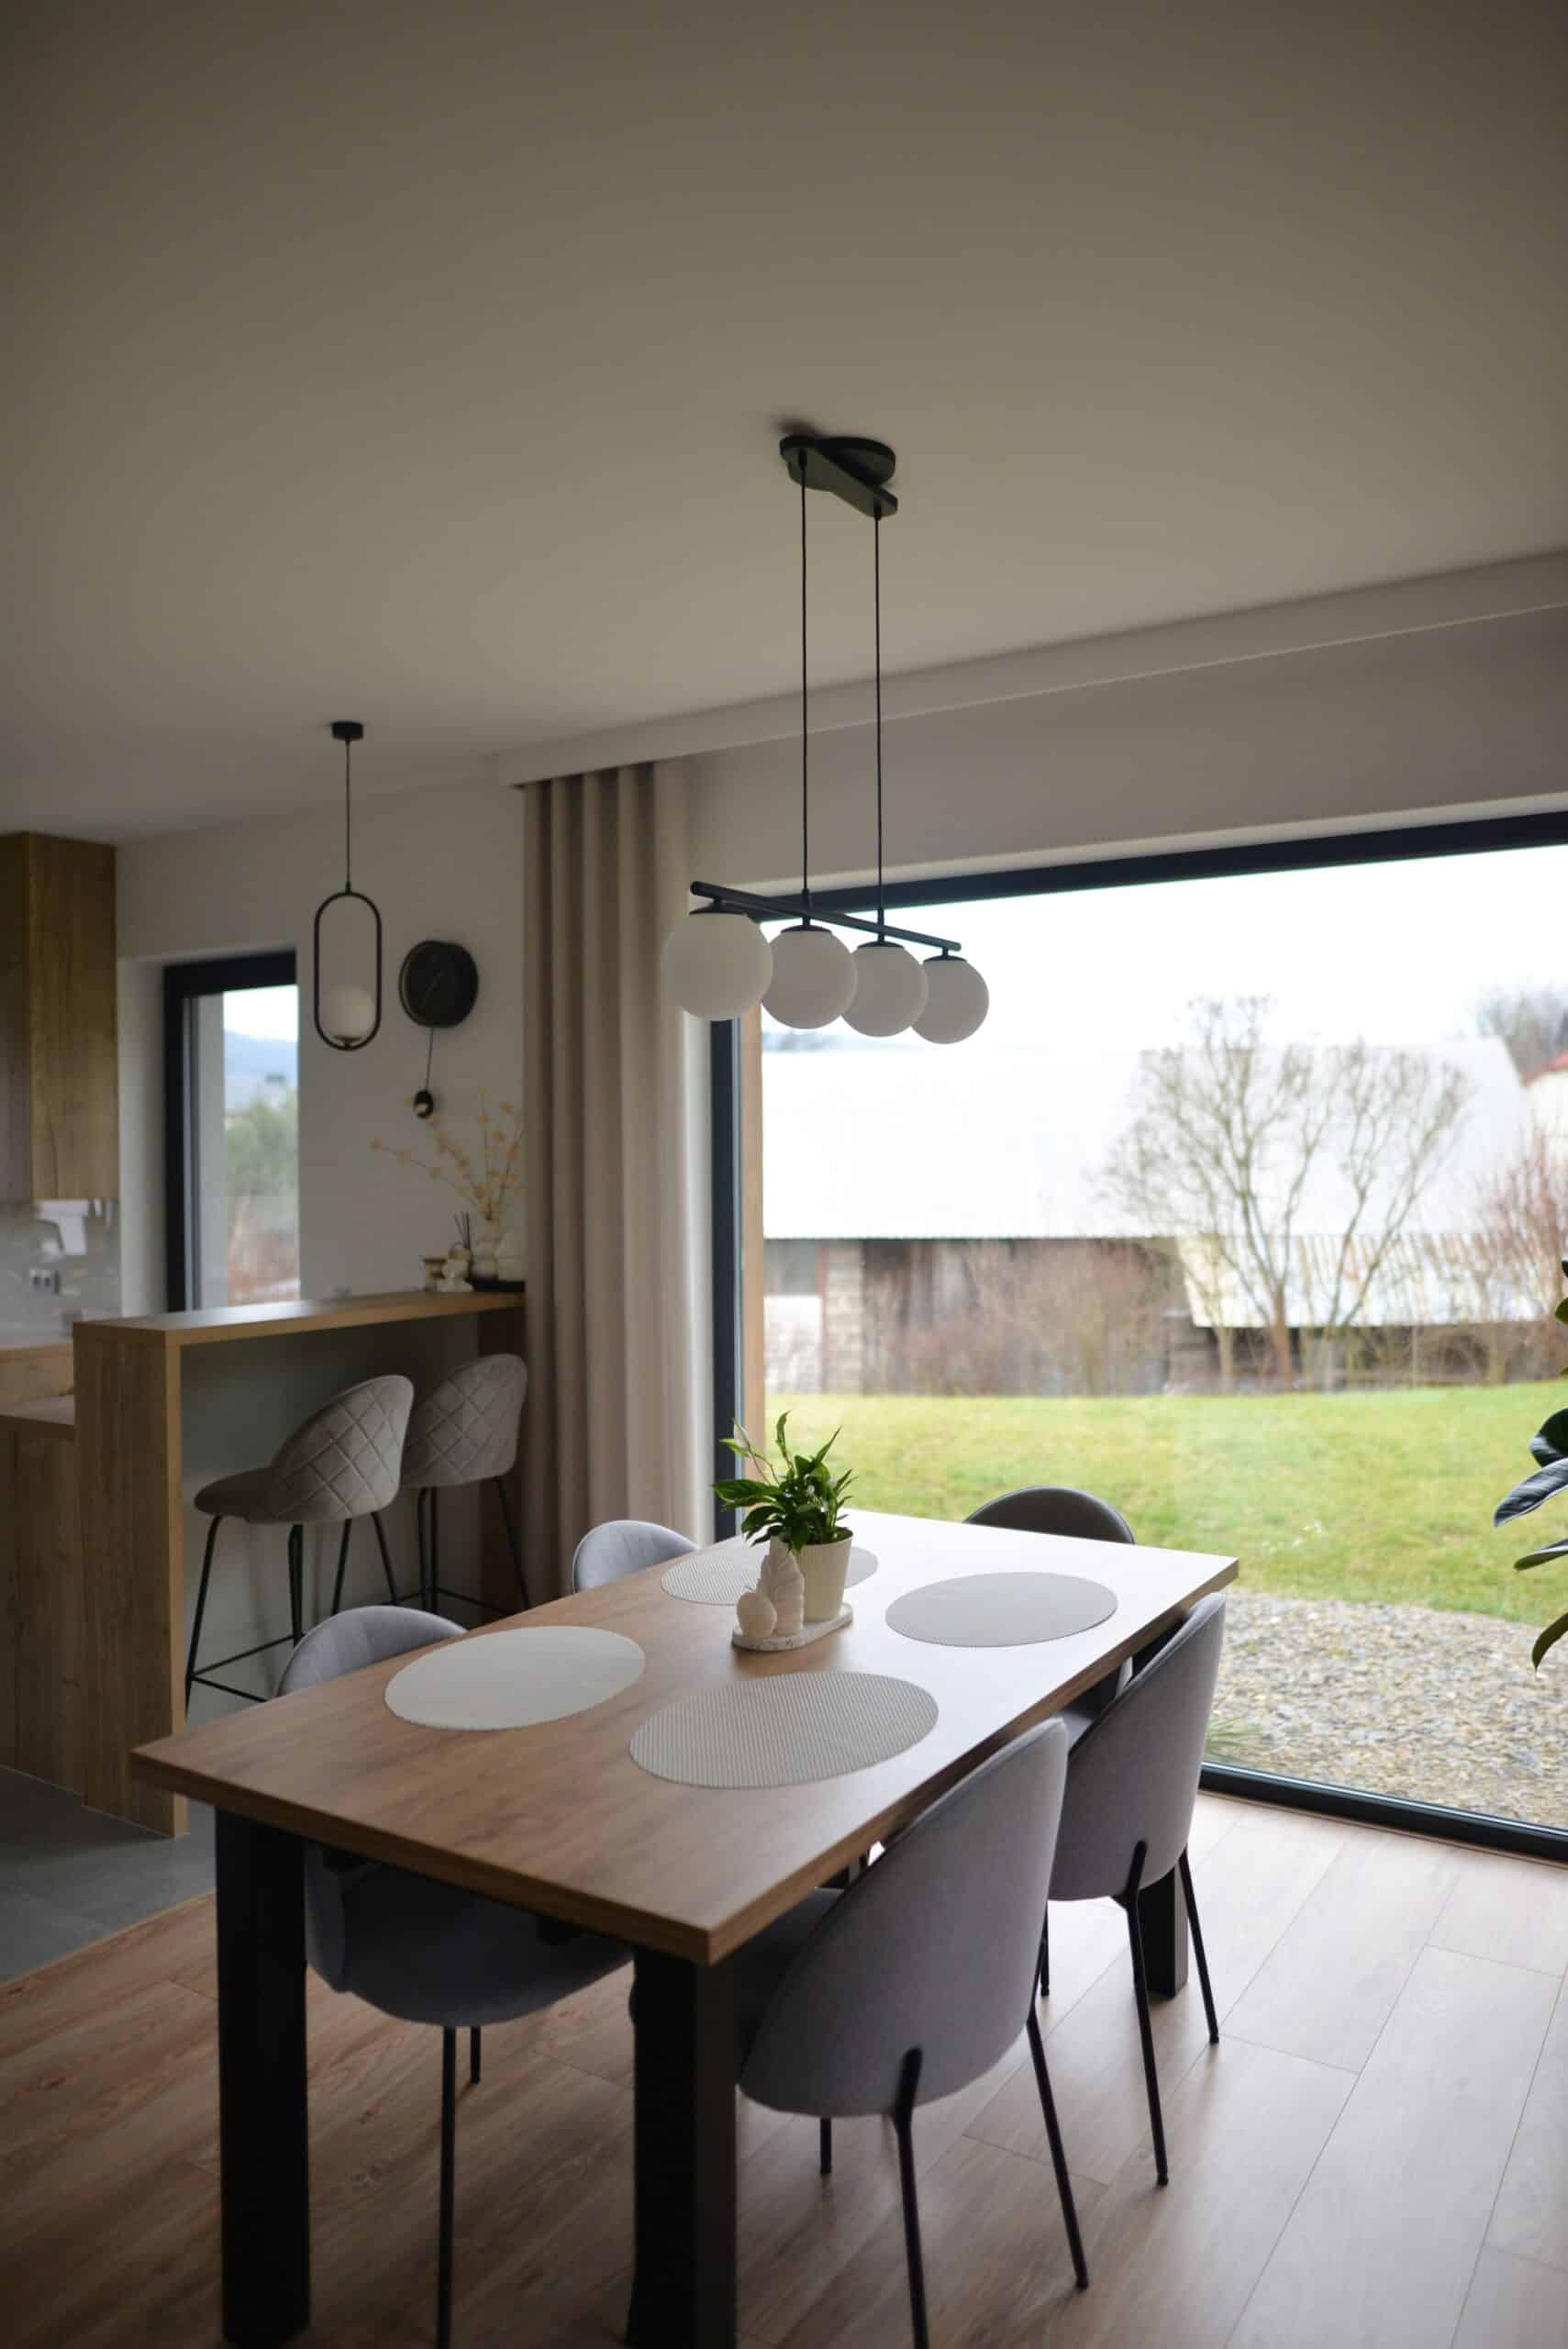
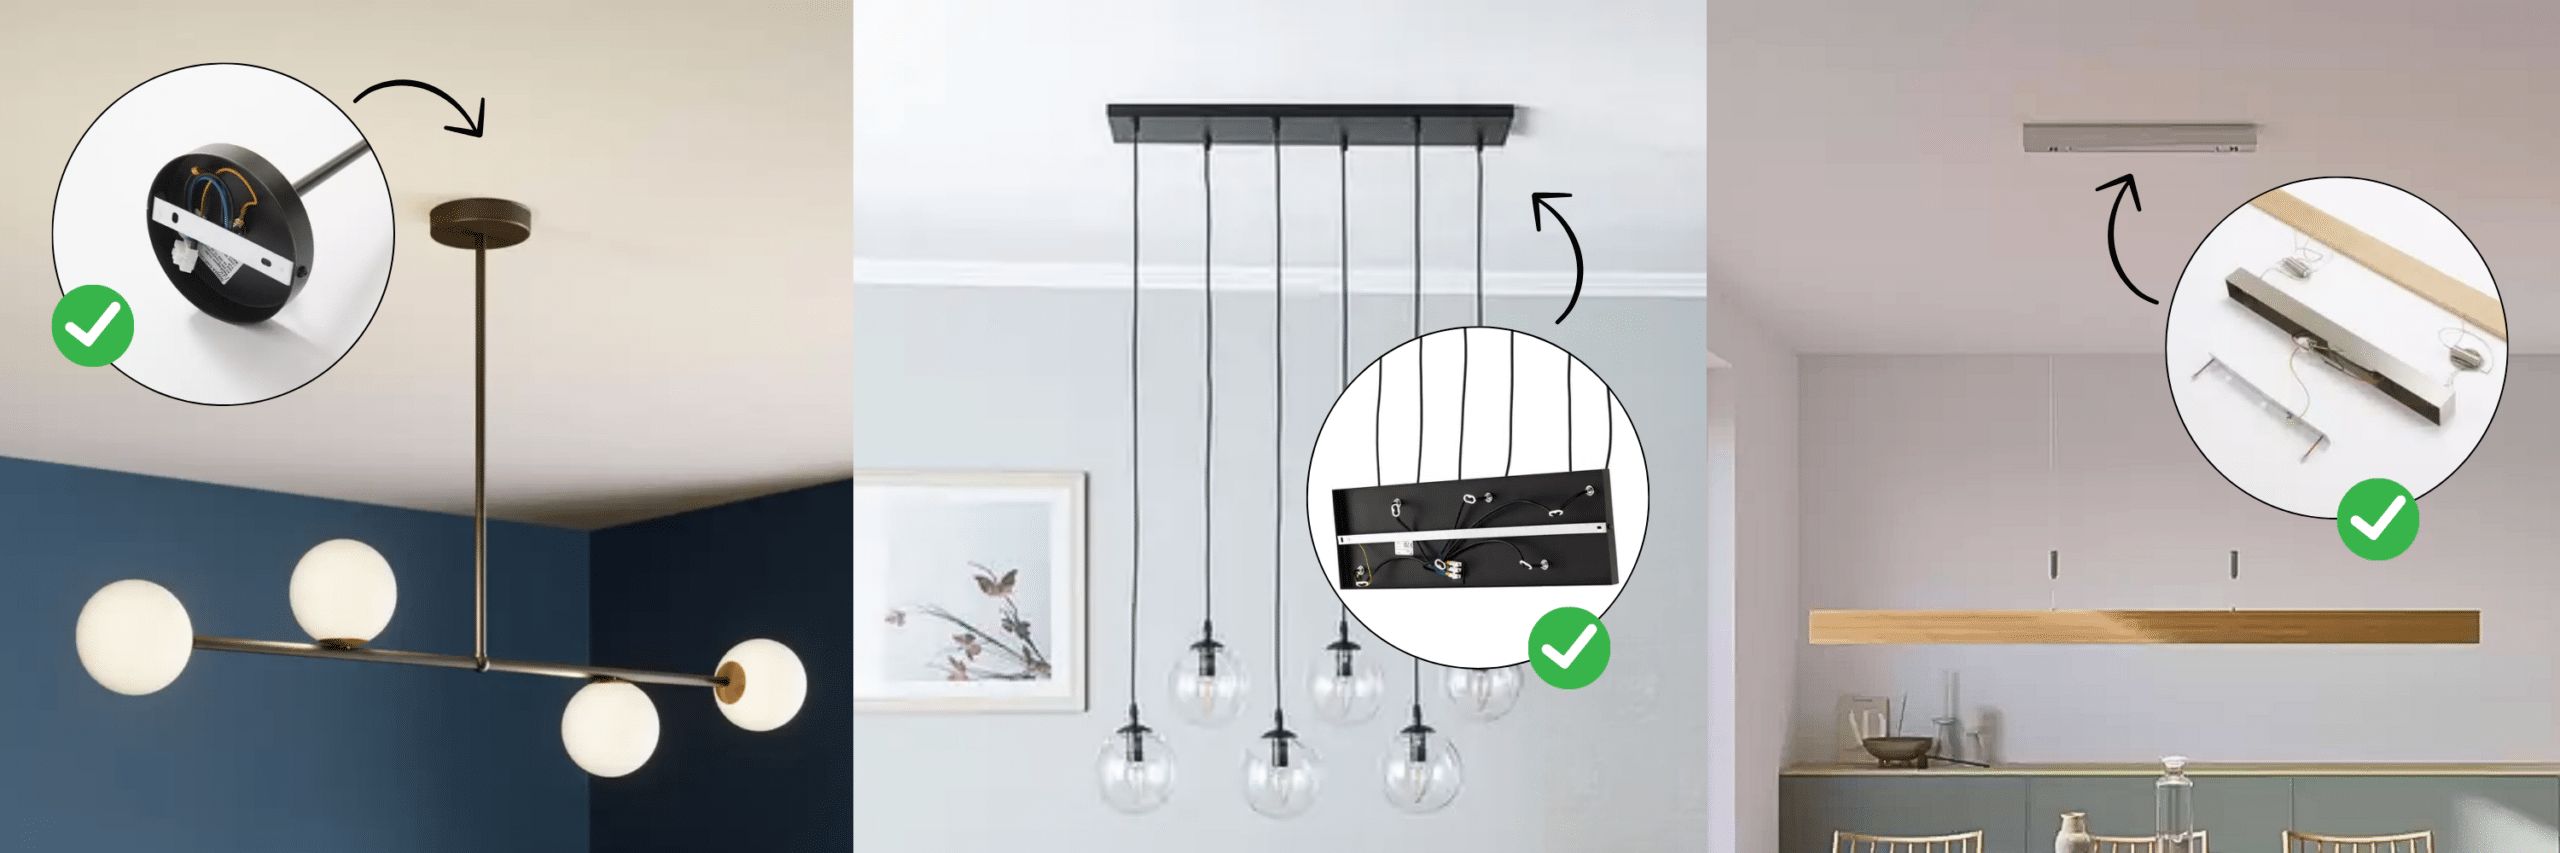
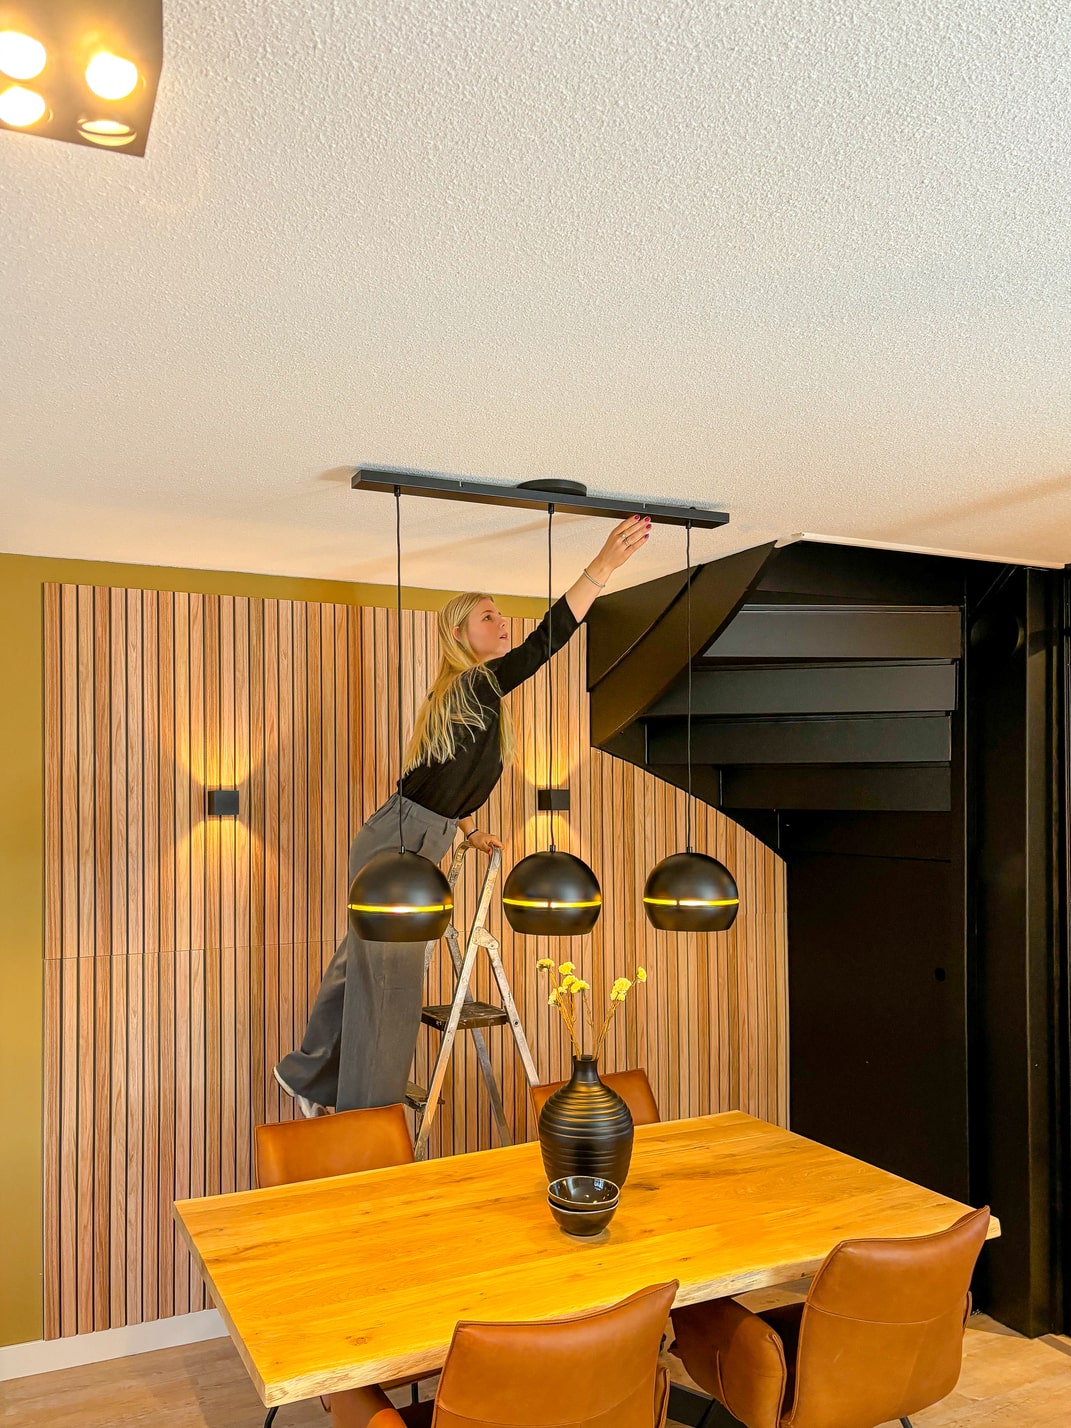
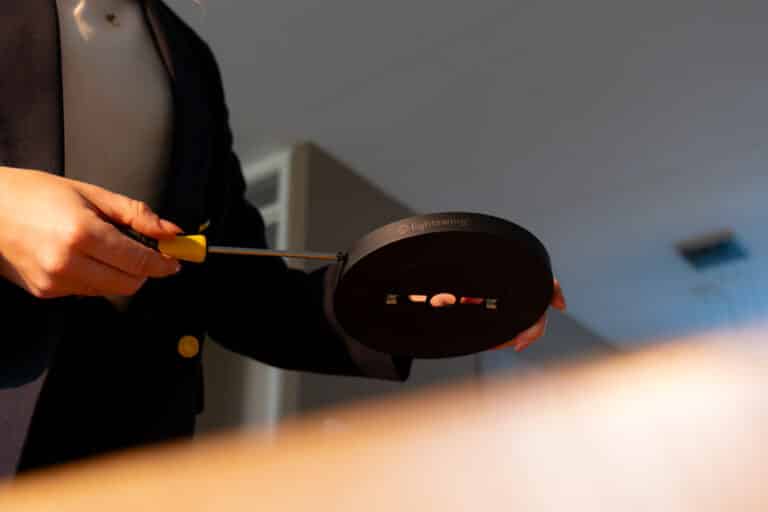
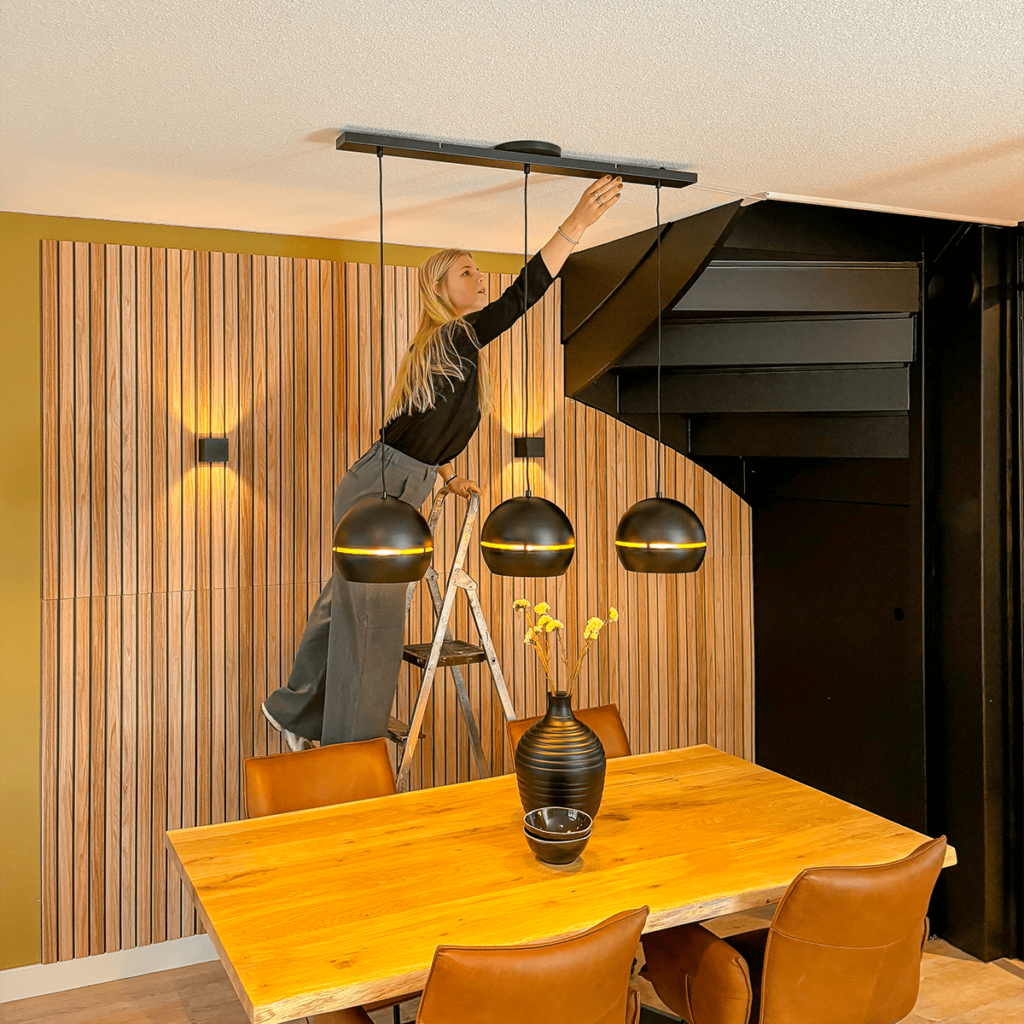
The Zero removes the need to reposition your ceiling light point entirely, allowing you to easily rotate your pendant light exactly where you want it. Whether it’s for hosting a dinner party, reconfiguring your room layout, or simply refreshing your space, the Zero helps you do it effortlessly—all while maintaining a stylish, modern look.
Why choose the Lightswing® Zero?
With its minimalist design and thoughtful engineering, the Lightswing® Zero is the perfect fit for anyone looking to enhance their space without compromise. Like all our products, it integrates seamlessly into your interior, offering:
- Compatability; suitable for pendant lights with bar lighting or a bracket for multiple pendants
- 0% effort; can turn 360° without drilling extra holes
- Customer approved; specifically developed to meet customer demands for this type of pendant light
- Simplicity; suitable for pendant lights up to 10 kg and available in 3 colors
The Zero is a testament to our dedication to staying connected with our customers’ needs while staying true to our brand values. It’s a stylish, modern solution designed to bring light exactly where you need it—literally and figuratively.
Ready to turn things around?
With the Lightswing Zero, you can finally achieve the interior look you’ve been dreaming of. Turn your table and your pendant to create a flexible interior, the Zero lets you take control while keeping your space effortlessly chic.
Are you ready to make your bright ideas a reality? Discover the Lightswing® Zero today and see how easy it is to turn your style around.