Buy now, pay later
Buy now, pay later

Enjoy your Lightswing® right away

30 days to change your mind

So you have time to think about it

Order before 4pm for same day shipping

We'll prepare your order the same day

Create a flexible interior today

Turn, slide and change your pendant light without tools

Lightswing® Single

Mount the Lightswing® and turn and slide your pendant light to the desired place. Making sure your light is always centered.

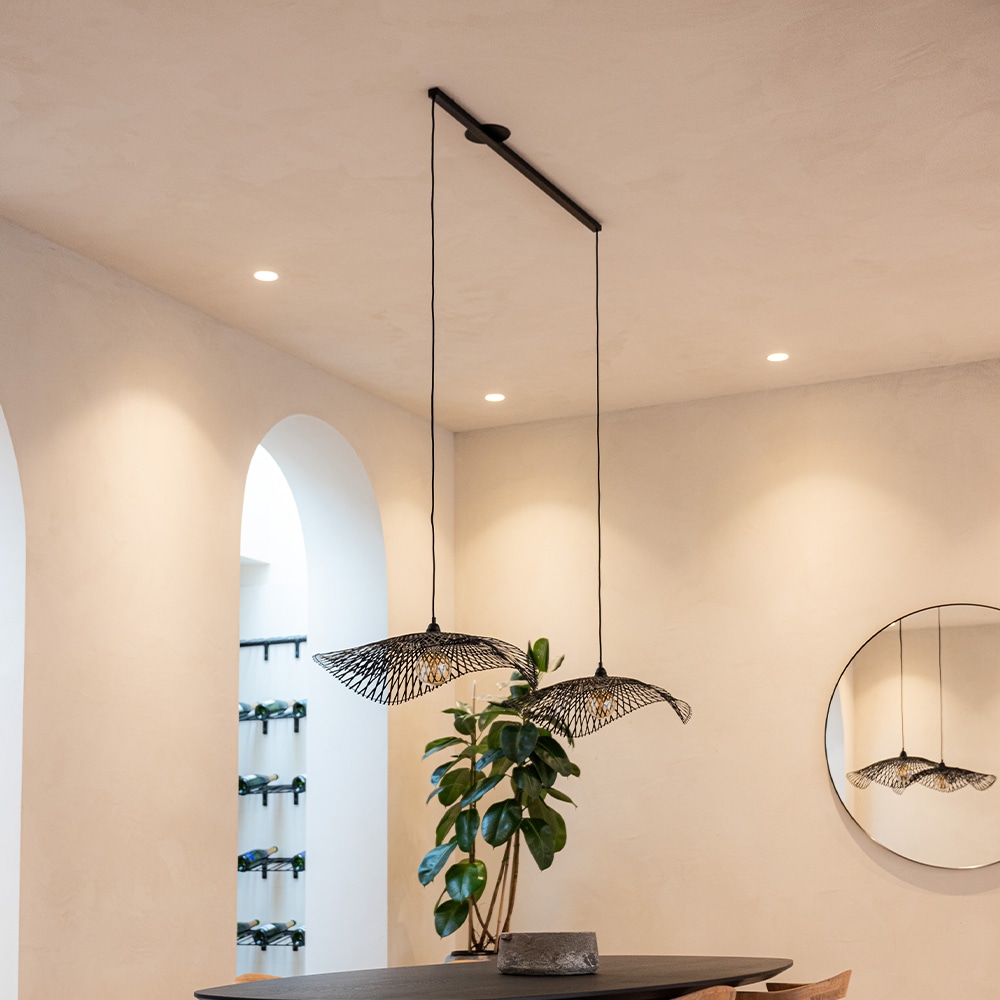
Lightswing® Twin

Both your pendant lights can turn and slide, ensuring they are always perfectly centered and simple to adjust.

Why you need a Lightswing®
Adjust your pendant lights without any tools

Need to reposition your pendant light over a new dining table arrangement? With Lightswing®, you can slide your light up to 93 cm and turn it 360° effortlessly. No tools required—simply adjust it by hand to perfectly align with your space.

Change your pendant light in seconds

Looking to update your room's look with a new pendant light? The Lightswing® features a Quick Release system that lets you switch lights instantly. Just click your old light out and snap the new one in—it's that simple.

Compatible with almost all pendant lights

Wondering if your pendant light is suitable for a Lighswing®? Lightswing® is suitable for all sorts of pendant lights. It is designed for one or two pendant lights and can carry up to 3.5 kg per pendant light.

Buy now, pay later
Buy now, pay later

Enjoy your Lightswing® right away

30 days to change your mind

So you have time to think about it

Order before 4pm for same day shipping

We'll prepare your order the same day

Don't just take our word for it

Hear from our happy customer!

This is how you mount your Lightswing®

  1. 1 Turn off the power

    Of course, firstly, you turn off the power to the connecting wires. You install the Lightswing® onto the junction box on your ceiling, or use our mounting ring if you have a specific ornament or location in mind. The Lightswing® can also be connected directly to an electricity cable coming from your ceiling.

  2. 2 Install the Lightswing®

    After determining the Lightswings location, drill four holes in the ceiling using the provided drilling template. Then, connect the electricity cable from the Lightswing® to the supplied terminal block. Check to ensure that the Lightswing® can rotate and slide freely. Next, secure the Lightswing® to the ceiling using the four drilled holes.

  3. 3 Attach the pendant light

    The final step is to attach the pendant light(s) to the Quick Release. To do this, strip a part of the cord and attach it to the terminal block of the Quick Release. Click the Quick Release in the Lightswing® to connect the pendant light and adjust it into place. Finally, switch the power back on and enjoy the flexibility of your pendant light(s).

A look inside

Dining room
Lightswing® Twin matt white
See product
Dining room
Lightswing® Single matt black
See product
Dining room
Lightswing® Single matt white
See product
Living room
Lightswing® Single matt black
See product
Dining room
Lightswing® Twin matt white
See product