Select a store


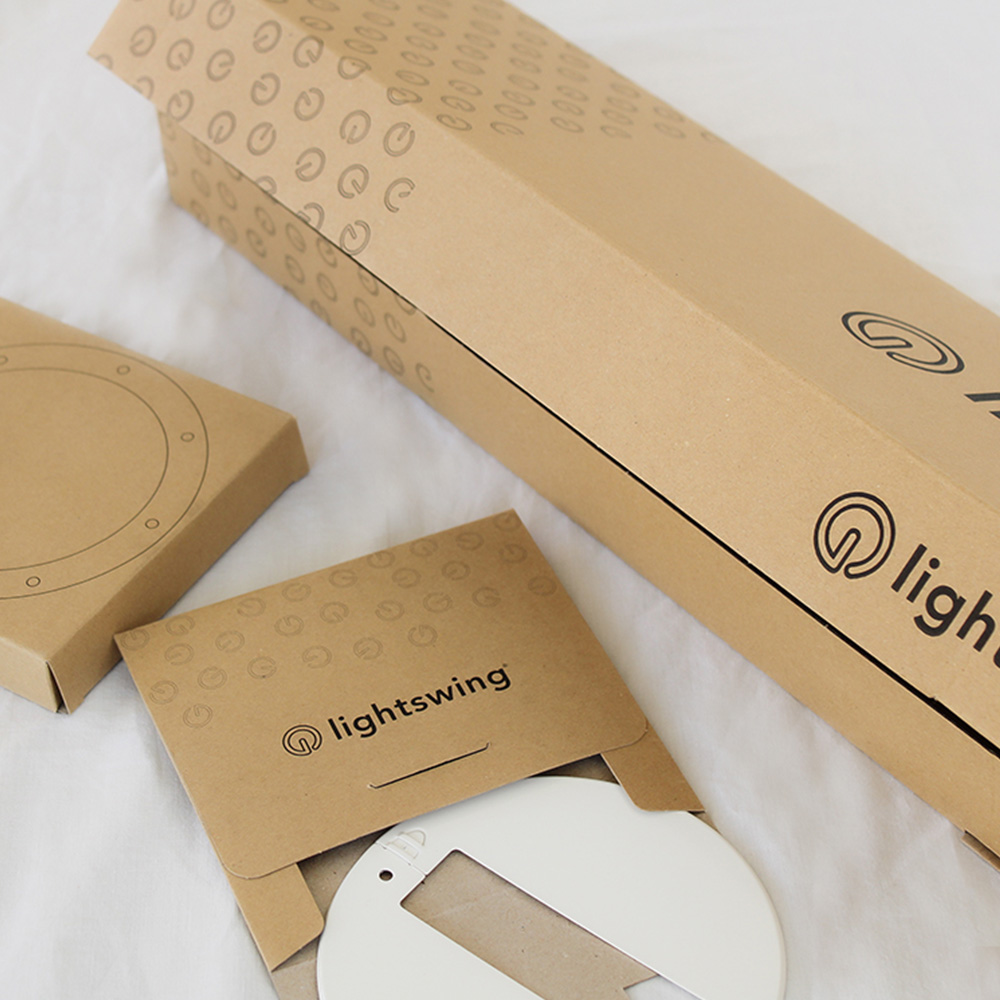
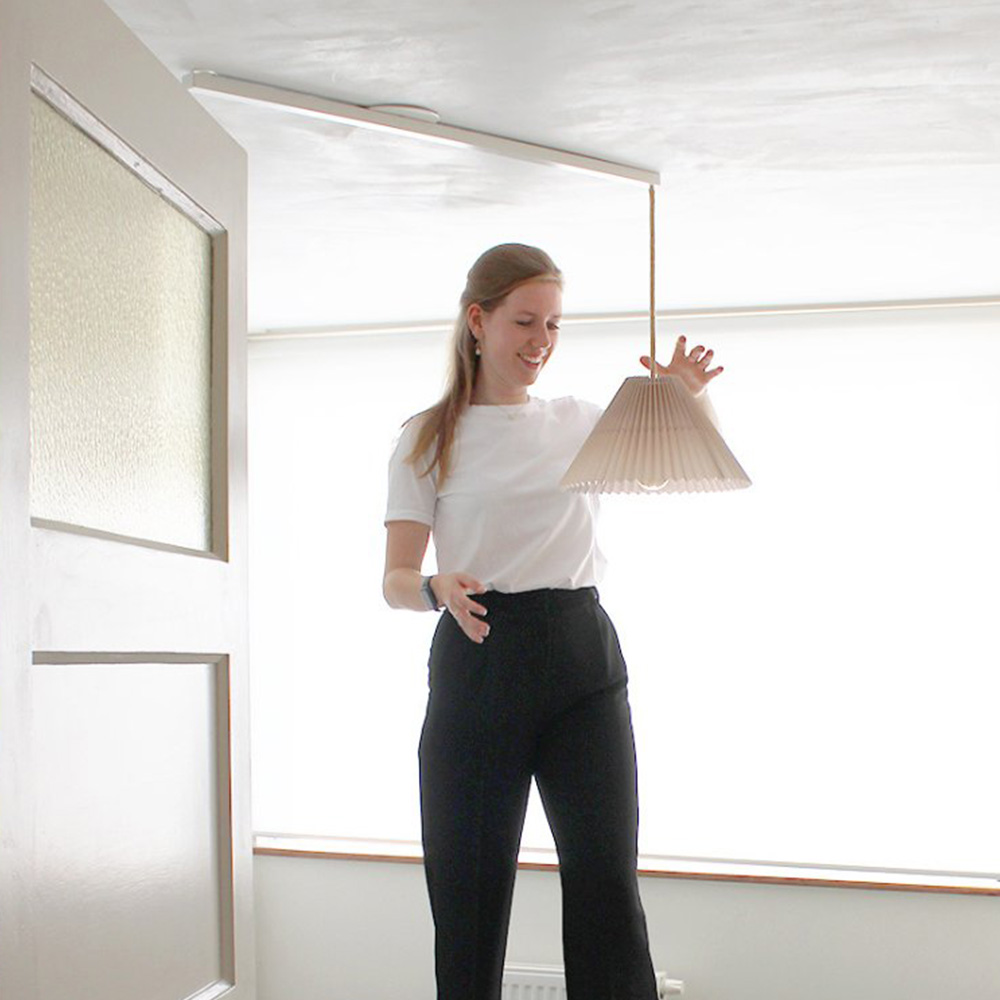
Enjoy your Lightswing® right away

So you have time to think about it

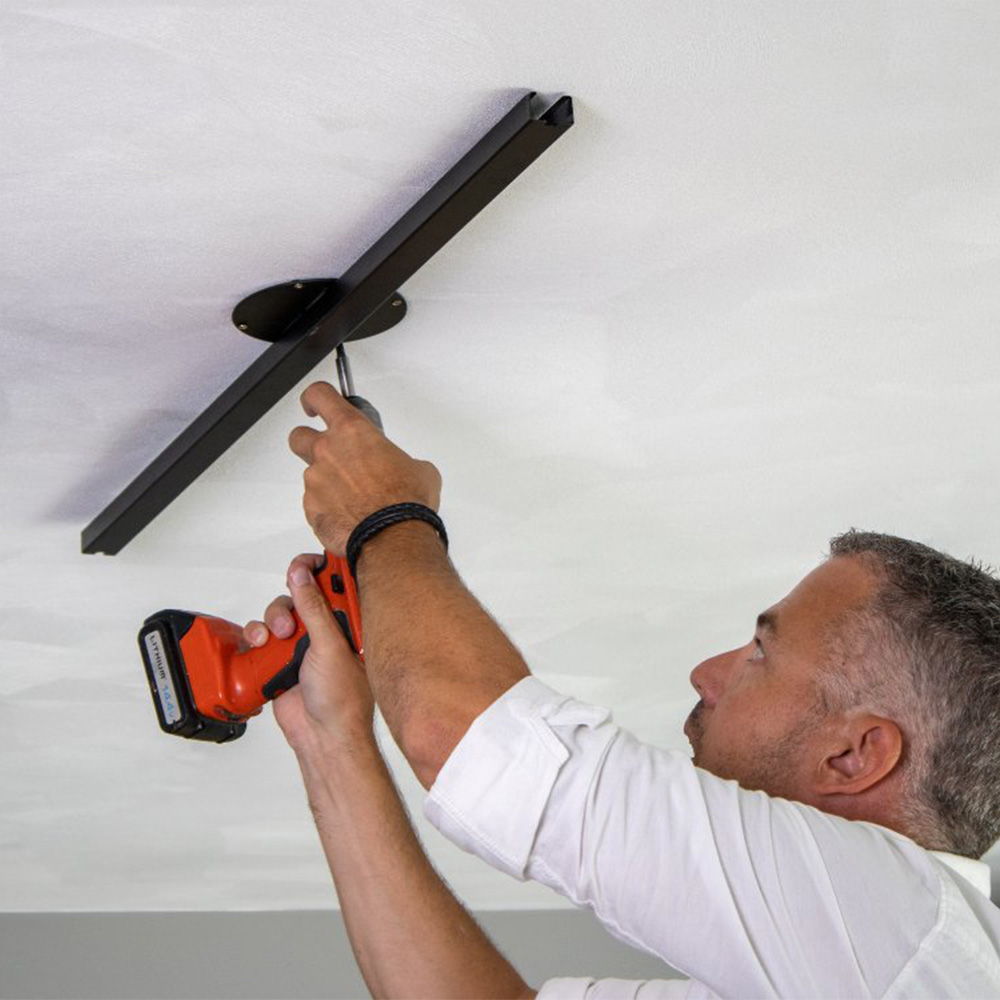
We'll prepare your order the same day